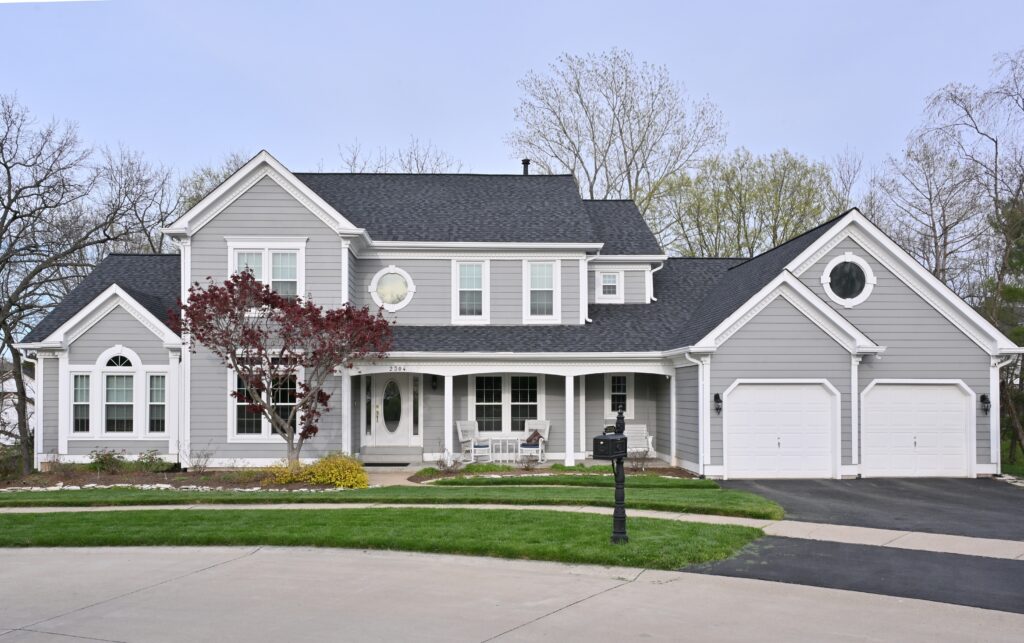
Houston, Texas | Financing Available

The Rhino Shield Application Process

At Rhino Shield Houston, we believe exceptional exterior coating starts with an exceptional customer experience.

From the first consultation to the final walkthrough, every step of our process is designed around clear communication, meticulous workmanship, and lasting results. We never cut corners, rush timelines, or consider a project complete until you’ve seen the transformation for yourself and are completely satisfied with the results. 

To maintain consistent quality, only certified Rhino Shield applicators are authorized to install our system.

Step 1 - Inspection

Every project begins with a thorough exterior inspection led by your dedicated project lead. We walk the property with you, identify any areas of concern, and document details such as wood rot, stucco cracks, moisture intrusion, or gaps around windows and doors. From there, we create a customized production plan tailored specifically to your home. 

Step 2 - Cleaning

A long-lasting exterior coating begins with a properly prepared surface. We pressure wash the entire exterior to remove dirt, mildew, algae, chalking, and other contaminants that can interfere with adhesion. A clean, dry surface is essential for long-term durability.

Step 3 - Patching & Repairs

Before any coating is applied, our goal is to restore the integrity of your home’s exterior. Damaged wood is replaced, stucco cracks are repaired, and compromised siding is addressed as needed. This sets the foundation for the Rhino Shield coating to perform the way it was designed and last for decades to come.

Step 4 - Scraping

Loose, flaking, or peeling paint must be removed before the Rhino Shield coating can properly bond to both our primer and the ceramic finishing layers. Our team carefully scrapes and sands all affected areas until the surface is stable, smooth, and ready for application. 

Step 5 - Caulking

Texas moisture and heat can take a toll on exterior surfaces;  proper caulking plays a critical role in long-term protection.  We seal all necessary joints, gaps, cracks, and openings around doors, windows, trim, and other areas prone to moisture intrusion using a premium acrylic elastomeric caulk. Any failing or deteriorated caulk is removed and replaced to create a clean, durable seal.

Step 6 - Masking

Before application begins, we carefully protect every surface that is not being coated. Windows, doors, lighting, landscaping, roofing, decking, and other adjacent areas are thoroughly masked and covered. Attention to detail matters at every stage, and we treat your property with the same level of care we would expect for our own.

Step 7 - Priming

Unlike conventional paint contractors who often prime only isolated problem areas, we prime the entire exterior surface. Full-surface priming creates a consistent, sealed foundation that improves adhesion, enhances water resistance, and promotes uniform performance across every square foot of your home. Our proprietary primer also includes fungicides, algaecides, and mildewcides to help resist future mold and mildew growth — especially important in Houston’s humid climate.

Step 8 - Finish Coat Application

After careful preparation and priming, your home is ready for the Rhino Shield ceramic finish coat. Applied at a high mil thickness, it delivers exceptional durability, UV resistance, and weather protection engineered for Houston’s climate. This final layer not only shields your walls but also enhances your home’s appearance with a rich selection of colors — the step where all prior preparation comes together to create a finish that is both beautiful and built to last.

Step 9 - Touchups

Once the primary application is complete, our team carefully reviews the entire exterior, attending to corners, trim, tight spaces, and architectural details. This step ensures uniform coverage, refined finish quality, and the polished result your home deserves.

Step 10 - Cleanup

When the installation is complete, we remove all masking materials, reinstall any temporarily detached items, and thoroughly clean the work area — leaving your property as clean as it was before we arrived.

Step 11 - Final Inspection

Once the project is complete, the crew leader walks the property with you, reviewing every surface, trim, and detail. Any concerns you have are addressed immediately — we don’t consider the job finished unless you are completely satisfied.

Once approved, you’ll receive your 25-year no chip, crack, or peel warranty, giving you confidence that your home is protected for decades to come.

SCHEDULE YOUR FREE ESTIMATE

Our Benefits

25 year transferable warranty

25-Year Warranty

Industry-Leading 25 Year Transferable "no chip, crack, or peel" Warranty!

Energy Star Rating Blocks UV Rays and Saves Energy

Save on Energy Costs

Rhino Shield reflects UV rays and reduces thermal conductivity to help you save on energy bills!

Built for Texas Weather

Rhino Shield was designed to withstand Gulf Coast humidity, wind-driven rain, and resists mold, mildew, and algae growth year-round!

rhino shield protects your home

Extreme Durability

Rhino Shield resists chipping, flaking, cracking and peeling - making it virtually maintenance free!

Any Color, Any Surface

Any Color, Any Surface

Choose from thousands of color options that can be applied to virtually any healthy surface!

Class A Fire Rated

Rhino Shield achieved the highest fire resistance classification available.